When you need to integrate a video player on IBM Web Content Manager, probably you will not find very much documentation, for this reason today I would like to explain how to integrate one of the nicest video players available at this moment; I am talking about Flowplayer. Flowplayer is an HTML5 based player but also it works very well in Internet Explorer 6+, so if you need to support these kind of old browsers you will be very happy because at the end you will have a cross-browser player and your end-users will love you, definitely!

So, first of all, I suppose you have a little experience with WCM, that it is important because in this post I will not explain concepts like Authoring Templates, Presentation Templates, tags, keywords, elements, site areas, components, etc. if you want to learn more about IBM Web Content Manager, let me recommend to visit Base22 Knowledge Wiki (the awesome company where I am playing right now, jejeje, :p ), where you can find a set of articles related with WCM: https://wiki.base22.com/display/btg/IBM+Web+Content+Manager.
Step 1. Creating the authoring template.
Create a new authoring template called Video:
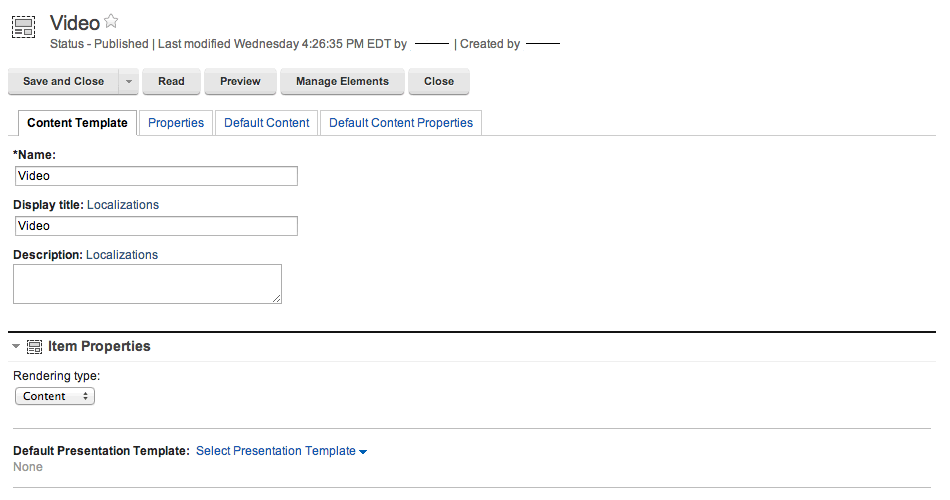
Step 2: Configuring elements.
Add elements to your authoring template, we just need three elements at this moment
- Summary (Text). Used to create a short description about our video
- File FLV (File Resource). In this element we will upload a FLV file (flash video).
- Thumbnail (Image). This will be an image related with the video.

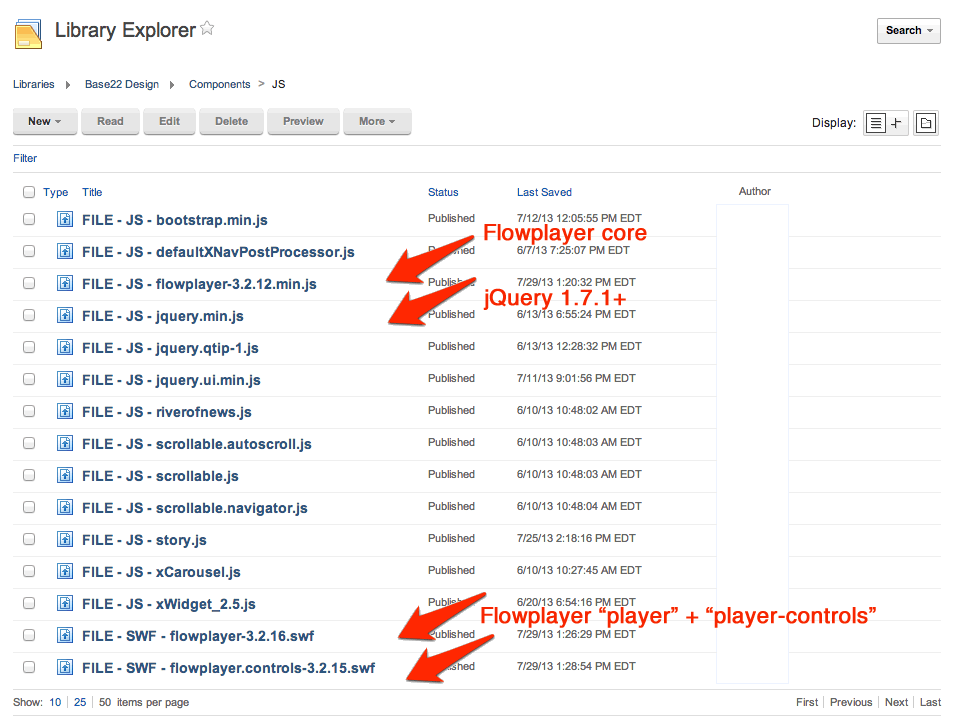
Step 3: Uploading Flowplayer resources.
Upload flowplayer scripts into your library components. You will need the flowplayer’s core and optionally the player-controls script, this is not mandatory, because you could use player-controls script from flowplayer server directly. Sometimes, if you have a proxy or firewalls in your network and you try to get player-controls script from an external server you will have problems, to solve this, just upload the script into your own server.
- Create a new file resource component inside of a library, then upload the flowplayer script (in my case I have uploaded flowplayer-3.2.12.min.js).
- Create a new file resource component inside of a library, upload the flowplayer “SWF player” (flowplayer-3.2.16.swf).
- Create a new file resource component inside of a library, upload the “flowplayer controls” (flowplayer.controls-3.2.15.swf).
- Be sure you have uploaded a jQuery 1.7.1+, this is mandatory. See more details about this in: http://flowplayer.org/docs/
Step 4. Creating a presentation template.
Now, you are ready to create and configure your presentation template, in this case we will create a simple presentation template, remember you can integrate flowplayer to another presentation template, even you could create an HTML component and include it in all of them. Let see, go to your library in WCM and create a new presentation template.
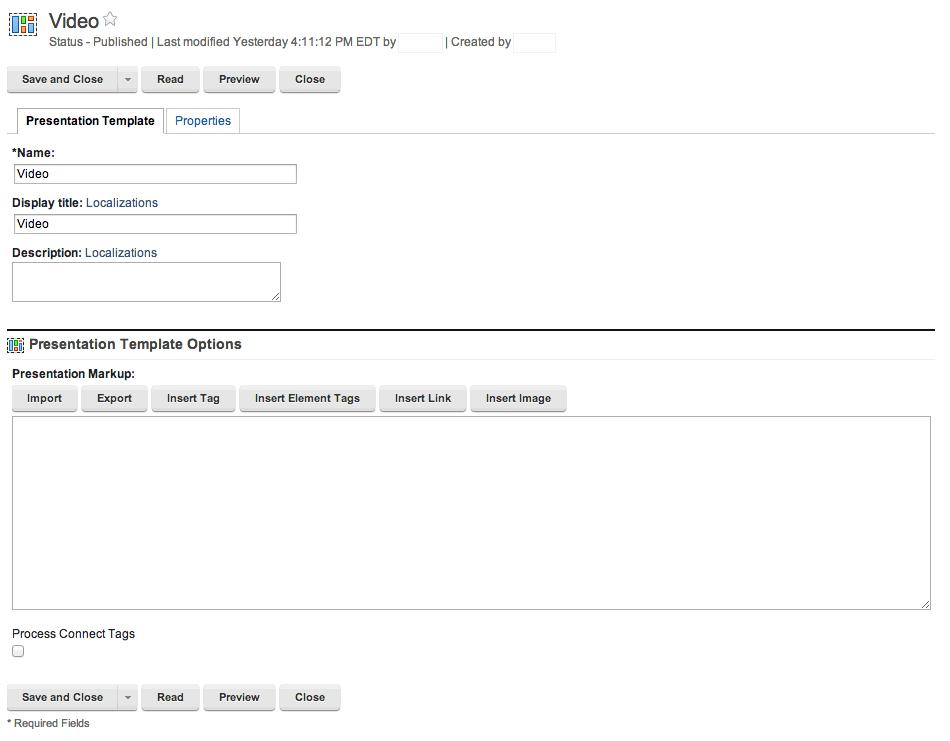
In the presentation markup you can get every one of the video authoring template’s elements and render them with a simple code like this:
<!-- START: PT - Video -->
<!-- IMPORTANT: Load jQuery 1.7.1+ if and only if YOU DID NOT LOAD IT previously -->
<script src='[Component name="base22 design/js/file - js - jquery.min.js"]' type="text/javascript"></script>
<!-- Load Flowplayer core after loading jQuery 1.7.1+ -->
<script src='[Component name="base22 design/js/file - js - flowplayer-3.2.12.min.js"]' type="text/javascript"></script>

<div id="content-summary">
	[Element context="current" type="content" key="summary"]
</div>

Plugin:ifNotEmpty value="[Element context='current' type='content' key='fileFLV']"]
    <!-- Visualize video, if there is one -->
    <a id="player" href="[Element context="current" type="content" key="fileFLV"]" style="display:block;width:450px;height:340px;"></a>
[/Plugin:ifNotEmpty]

<!-- Flow player configuration -->
<script type="text/javascript">
  var player = flowplayer("player", "[Component id='some-id' name='base22 design/js/file - swf - flowplayer-3.2.16.swf']",{
      plugins: { // load one or more plugins
          controls: { // load the controls plugin
              // always: where to find the Flash object
              url: 'http://releases.flowplayer.org/swf/flowplayer.controls-tube-3.2.15.swf',

              // now the custom options of the Flash object
              playlist: true,
              backgroundColor: '#ffffff',
               // custom colors
              bufferColor: '#333333',
              progressColor: '#076394',
              buttonColor: '#076394',
              buttonOverColor: '#076394',

              //sliderColor: '#FFFFFF',
              //sliderBorder: '1px solid #808080',
              volumeSliderColor: '#076394',
              volumeBorder: '1px solid transparent',

              // timeColor: '#000000',
              // durationColor: '#535353',

              // tooltip background color (since 3.1.0)
              tooltipColor: '#ffffff',
              tooltipTextColor: '#333333',
              tooltips: { // this plugin object exposes a 'tooltips' object
                  buttons: true,
                  fullscreen: 'Enter Fullscreen mode'
              }
          }
      }
  });
</script>
<!-- /Flow player configuration -->
<!-- END: PT - Video -->
Please, pay attention to this line:
var player = flowplayer("player", "[Component id='some-id' name='base22 design/js/file - swf - flowplayer-3.2.16.swf']",{
First parameter of flowplayer function is the ID of an anchor element <a></a> that contains the path to the video (uploaded in a WCM element) next is an example of this anchor element (see href attribute), as you can see the style attribute contains the width and height of the video player (also you could use a DIV container):
<a id="player" href="[Element context="current" type="content" key="fileFLV"]" style="display:block;width:450px;height:340px;"></a>
Second parameter of flowplayer function is the path where WCM will find the “SWF player“, in this case we can obtain this path using a component reference to our file resource uploaded in step 3.
IMPORTANT: In this demo I am using only FLV files, but Flowplayer works with other video formats, please visit its official website to get more information: http://flowplayer.org/docs/#video-formats
Step 5. Testing your configuration.
Finally, in order to test if all is well configured, please create a new piece of content using the authoring template Video, upload a FLV video file in the element fileFLV, and use preview button. That’s it! if you have followed all steps your new player will be working very well and you will save time to deliver this new feature in your web portal and you will have free-time to read a good book 🙂
Be happy with your code!
—
José Castillejos López liked this on Facebook.
Ariana Martinez liked this on Facebook.